How to Reset Maintenance Light on Toyota

As a responsible Toyota owner, keeping up with routine maintenance is crucial for ensuring your vehicle’s longevity and performance. One essential aspect of this is resetting the maintenance light after each service, which can sometimes be confusing or overlooked. Have you recently had your Toyota serviced, but the maintenance light stubbornly remains on? Don’t worry, resetting it is a straightforward process that can be done in just a few steps.
This comprehensive guide will walk you through how to reset the maintenance light on various Toyota models, why it’s important, and what to do if you encounter any issues during the process. We’ll also cover the recommended maintenance schedule and address some frequently asked questions to ensure you have all the information you need to keep your Toyota running smoothly.
The Toyota maintenance light, often displayed as “MAINT REQD” or a wrench icon, is designed to remind you when routine maintenance, typically an oil change, is due. It’s not connected to any specific sensor but rather acts as a mileage counter, illuminating roughly every 5,000 miles as a reminder to schedule a service appointment.
After the necessary maintenance is performed, whether by a professional technician or as a DIY task, it’s essential to reset the maintenance light. Failing to do so can lead to confusion about when your next service is due, potentially causing you to miss important maintenance intervals and putting your vehicle at risk of premature wear or damage.
What is the Toyota Maintenance Light?
The maintenance light on your Toyota dashboard serves as a visual reminder that your vehicle is due for routine maintenance, such as an oil change, tire rotation, or other scheduled services outlined in your owner’s manual. It’s a helpful feature designed to ensure you don’t overlook these essential tasks, which can prolong the life of your Toyota and maintain its optimal performance.
The maintenance light is typically labeled as “MAINT REQD” or represented by a wrench icon on your dashboard display. It’s important to note that this light is not connected to any specific sensor or system within your vehicle. Instead, it’s tied to your odometer and is programmed to illuminate after a set distance, typically every 5,000 miles or six months, whichever comes first.
Why Should You Reset the Toyota Maintenance Light?
Resetting the maintenance light after each scheduled service is crucial for several reasons:
- Accurate Maintenance Tracking: By resetting the light, you’ll ensure that it accurately reflects the next service interval. This helps you stay on top of your Toyota’s maintenance needs and avoid overlooking any crucial services.
- Avoid Confusion: If the maintenance light remains on after a service, it can cause confusion and make it difficult to determine when the next maintenance is actually due. Resetting the light eliminates this uncertainty.
- Prevent Premature Wear: Neglecting recommended maintenance can lead to premature wear on various components, potentially resulting in costly repairs down the line. Resetting the light and adhering to the maintenance schedule can help you avoid such issues.
- Maintain Optimal Performance: Regular maintenance, such as oil changes and tire rotations, ensures that your Toyota operates at its best, providing optimal performance, fuel efficiency, and overall driving experience.
Resetting the maintenance light is a simple task that takes just a few minutes but can save you from potential headaches and expensive repairs in the long run.
How to Reset Maintenance Light on Different Toyota Models
While the basic principle of resetting the maintenance light is consistent across Toyota models, the specific steps may vary slightly depending on the year, make, and model of your vehicle. Here are step-by-step instructions for resetting the maintenance light on some popular Toyota models:
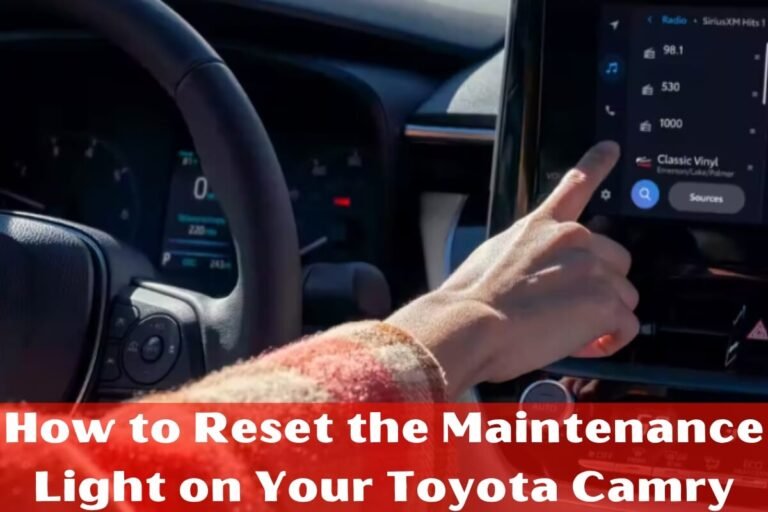
Resetting on Toyota Camry
- Insert your key into the ignition and turn it to the “On” position, but don’t start the engine.
- Locate the trip meter reset button on your dashboard, usually near the odometer.
- Press and hold the trip meter reset button.
- While holding the button, turn the key to the “Start” position (the second position), but don’t crank the engine.
- Continue holding the trip meter reset button for approximately 10 seconds until the maintenance light starts flashing and then turns off.
- Release the trip meter reset button and turn the ignition off.
- Start your Toyota Camry, and the maintenance light should remain off.
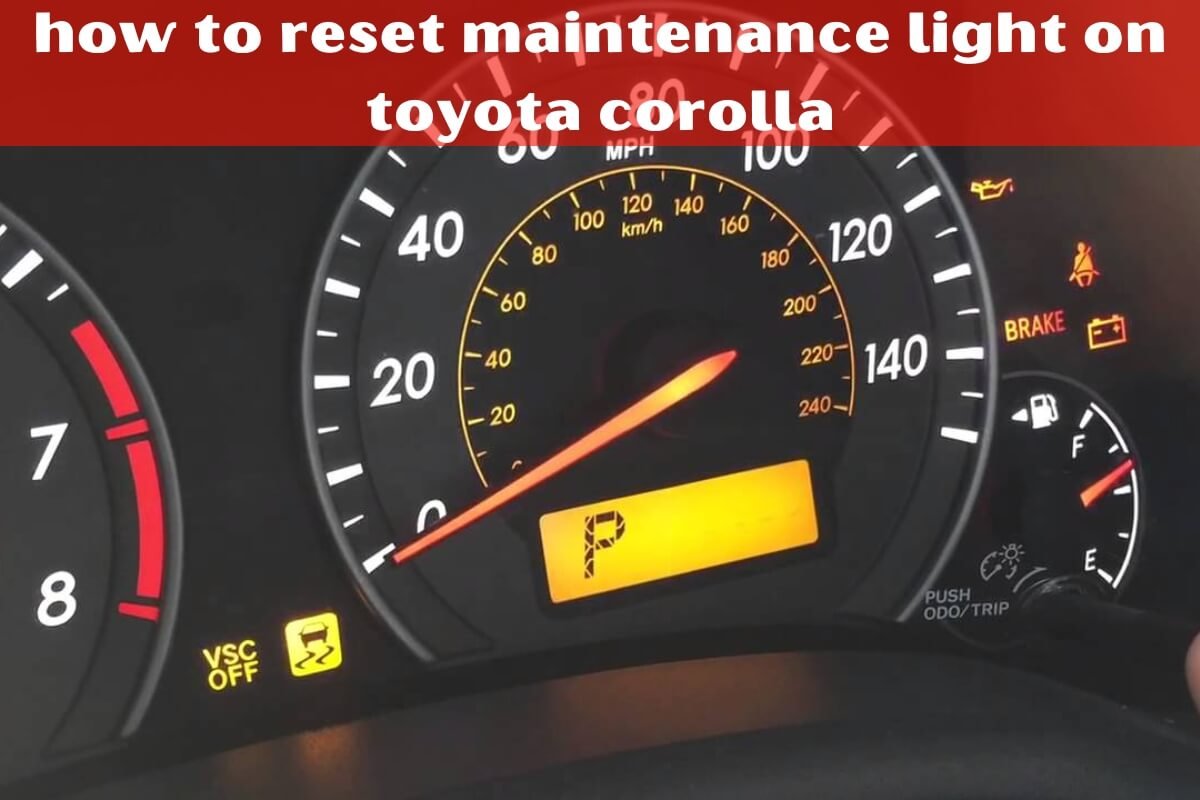
Resetting on Toyota Corolla
- Insert your key into the ignition and turn it to the “On” position, but don’t start the engine.
- Press and hold the trip meter reset button until the display shows “Trip A.”
- Turn the key back to the “Off” position while still holding the trip meter reset button.
- While continuing to hold the trip meter reset button, turn the key back to the “On” position.
- Keep holding the trip meter reset button until the odometer reading flashes “0.”
- Release the trip meter reset button, and the maintenance light should now be reset.
Resetting on Toyota RAV4
- Insert your key into the ignition and turn it to the “On” position, but don’t start the engine.
- Locate the trip meter reset button, typically near the odometer or multi-information display.
- Press and hold the trip meter reset button.
- While holding the button, turn the key to the “Start” position (the second position), but don’t crank the engine.
- Continue holding the trip meter reset button for approximately 10 seconds until the maintenance light flashes and turns off.
- Release the trip meter reset button and turn the ignition off.
- Start your Toyota RAV4, and the maintenance light should remain off.
Resetting on Toyota Prius
- Press the “Power” button twice without depressing the brake pedal.
- Locate the “ODO/TRIP” button, usually near the multi-information display.
- Press the “ODO/TRIP” button until the odometer reading appears.
- Turn off the vehicle by pressing the “Power” button once.
- Press and hold the “ODO/TRIP” button while pressing the “Power” button twice without depressing the brake pedal.
- Continue holding the “ODO/TRIP” button until the maintenance light turns off, and the odometer resets to “0.”
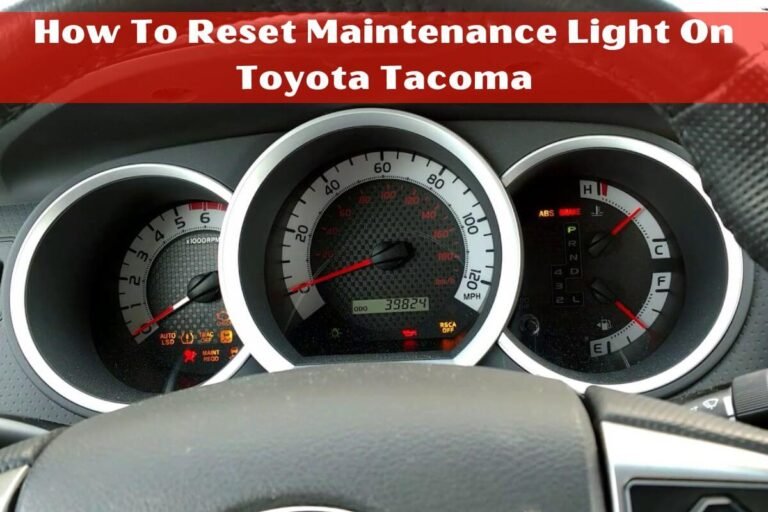
Resetting on Toyota Tacoma
- Insert your key into the ignition and turn it to the “On” position, but don’t start the engine.
- Locate the trip meter reset button, typically near the odometer or multi-information display.
- Press and hold the trip meter reset button.
- While holding the button, turn the key to the “Start” position (the second position), but don’t crank the engine.
- Continue holding the trip meter reset button for approximately 10 seconds until the maintenance light flashes and turns off.
- Release the trip meter reset button and turn the ignition off.
- Start your Toyota Tacoma, and the maintenance light should remain off.
It’s worth noting that some newer Toyota models may have a multi-information display or touchscreen interface, in which case the process for resetting the maintenance light may involve navigating through menus and selecting the appropriate option. Consult your owner’s manual or reach out to a Toyota dealership for specific instructions if the above methods don’t apply to your vehicle.
What if the Maintenance Light Doesn’t Reset?
If you’ve followed the steps outlined above and the maintenance light on your Toyota still doesn’t reset or turns back on shortly after, there could be a few potential reasons:
- Improper Reset Procedure: Double-check that you’re following the correct steps for your specific Toyota model and year. If you’re unsure, consult your owner’s manual or reach out to a Toyota dealership for guidance.
- Underlying Issue: In some cases, the maintenance light may be indicating an underlying problem that requires professional diagnosis and repair. For example, if there’s an issue with the oil pressure sensor or another component related to the maintenance system, the light may remain on until the problem is resolved.
- Battery Disconnection: If you’ve recently disconnected your Toyota’s battery, it may have reset the maintenance light system, causing the light to turn back on prematurely.
If you’ve tried resetting the light multiple times without success, it’s recommended to have your Toyota inspected by a professional technician. They can diagnose any potential issues and ensure that the maintenance light system is functioning correctly.
Toyota Maintenance Schedule
To keep your Toyota running smoothly and prevent premature wear or potential breakdowns, it’s essential to follow the recommended maintenance schedule outlined in your owner’s manual. While the specific intervals may vary slightly based on your vehicle model and year, here are some general guidelines:
- Oil Change: Toyota typically recommends changing your engine oil every 5,000 miles or six months, whichever comes first. This is a crucial service that helps maintain your engine’s performance and longevity.
- Tire Rotation: Rotating your tires helps promote even wear and extends their lifespan. Toyota recommends rotating your tires every 5,000 miles or whenever you change your engine oil.
- Air Filter Replacement: Your Toyota’s air filter should be replaced periodically to ensure proper airflow and engine performance. The recommended interval is typically every 12 months or 12,000 miles.
- Brake Inspection: It’s crucial to have your brake system inspected regularly to ensure safe and reliable braking performance. Toyota recommends inspecting your brakes at least once a year or every 12,000 miles.
- Battery Check: The battery in your Toyota should be inspected periodically to check for corrosion, proper connections, and overall condition. This service is typically recommended every 12 months.
- Other Services: Depending on your Toyota model and driving conditions, there may be additional services recommended, such as transmission fluid changes, coolant flushes, or spark plug replacements. Consult your owner’s manual for the specific maintenance schedule for your vehicle.
Following the recommended maintenance schedule can help prevent costly repairs down the line and ensure that your Toyota continues to operate at its best for many years to come.
Frequently Asked Questions
Can I reset the light myself, or do I need to go to the dealer?
In most cases, you can reset the maintenance light yourself by following the steps outlined in this guide. However, if you’re uncomfortable performing the reset or encounter any issues, you can always have it done by a professional technician at a Toyota dealership.
How often should I reset the maintenance light?
The maintenance light should be reset after each scheduled service, typically every 5,000 miles or six months, whichever comes first. This ensures that the light accurately reflects the next service interval.
What happens if I don’t reset the maintenance light?
If you don’t reset the maintenance light after a service, it will continue to remain illuminated, which can cause confusion about when the next maintenance is actually due. This may lead to overlooking important services, potentially resulting in premature wear or damage to your Toyota.
Is the maintenance light the same as the check engine light?
No, the maintenance light and the check engine light are separate indicators. The maintenance light is a reminder for routine maintenance, while the check engine light indicates a potential issue with your vehicle’s emissions or engine systems that requires further diagnosis.
How do I know if my Toyota needs maintenance?
In addition to the maintenance light, pay attention to your vehicle’s odometer reading and the recommended maintenance schedule in your owner’s manual. If you’re approaching the next service interval or notice any unusual noises, vibrations, or performance issues, it’s a good idea to have your Toyota inspected by a professional.
Ending Thoughts
Resetting the maintenance light on your Toyota after each scheduled service is a simple yet crucial task that should not be overlooked. By following the steps outlined in this guide, you can ensure that the maintenance light accurately reflects your vehicle’s next service interval, helping you stay on top of routine maintenance and preventing potential issues down the line.
Remember, neglecting recommended maintenance can lead to premature wear, decreased performance, and potentially costly repairs. By adhering to your Toyota’s maintenance schedule and promptly resetting the maintenance light, you’ll not only prolong the life of your vehicle but also enjoy a smoother, more efficient driving experience for years to come.


